Teddycloud on a Synology DS220+
Introduction
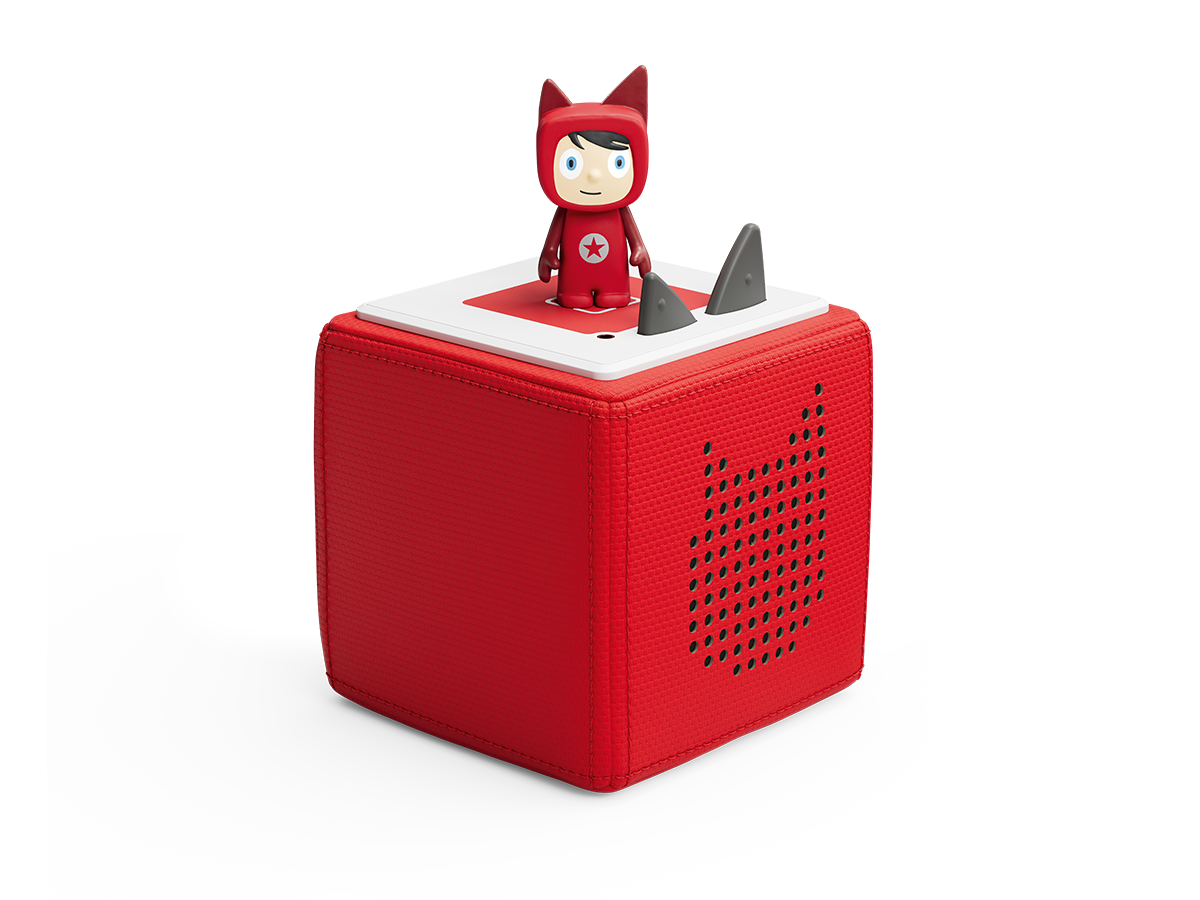
Having a Toniebox for your toddler seems fun and it's a well built quality product. Nevertheless, quality comes at a quite expensive price — especially for additional Tonies. Why not expand its functionality to justify it a bit more?
Teddycloud is an open-source, self-hosted replacement for the official Boxine cloud. It allows you to take full control over your Toniebox — hosting your own audio content, managing figurines, and keeping all data local on your network. No more relying on external cloud services for a toy your kid uses every single day.
The idea was simple: run Teddycloud on our Synology DS220+ NAS, which is already running 24/7 anyway, and redirect the Toniebox to talk to it instead of the official cloud. Sounds straightforward — but as always, the devil is in the details.
What's required?

PCBite dkit
Toniebox
Synology DS220+

USB UART Adapter
The Story
Upon starting a new project involving hardware, we usually start by collecting all available information about the device — what interfaces it exposes, what chips are inside, and what the community has already figured out. For the Toniebox, the Toniebox reverse engineering community has already done an incredible job documenting the internals.
Our Toniebox turned out to be an ESP32 based revision — the most recent hardware variant at the time of writing. This is relevant because the setup procedure for Teddycloud differs depending on your hardware revision (CC3200, CC3235, or ESP32). The ESP32 variant stores its client certificates in flash memory, and extracting them requires a UART connection to the board.
Opening the Toniebox is straightforward — remove the outer fabric ears and shell, unscrew the back plate, and you have access to the main PCB. The ESP32 module sits prominently on the board alongside the audio codec and power management circuitry. Locating the UART pads was easy thanks to the community documentation.
Extracting Certificates
The key step in setting up Teddycloud is extracting the client certificates from your Toniebox. These certificates are what the box uses to authenticate itself against the Boxine cloud — and Teddycloud needs them to impersonate the official server for your specific device.
We connected the USB UART adapter to the ESP32's serial pads using our PCBite probes — no soldering required, which is exactly the kind of non-invasive approach we prefer. With the serial connection established, we used esptool.py to dump the flash contents:
esptool.py -p /dev/ttyUSB0 -b 921600 read_flash 0x0 0x800000 flash_dump.bin
Once we had the full flash dump, Teddycloud's built-in certificate extraction handled the rest. The web interface lets you upload the dump and automatically extracts the client certificate and private key — no manual hex editing required.
Docker Setup on the Synology
The Synology DS220+ supports Docker via Synology's "Container Manager" (formerly just called "Docker"). Running Teddycloud as a container seemed like the natural choice — our NAS is on 24/7 anyway, it has plenty of storage for audio files, and it sits right on the local network.
The main challenge on Synology is networking. A standard Docker bridge network won't work because the Toniebox needs to reach Teddycloud on a proper LAN IP via ports 443 and 80. The solution: a macvlan network that gives the container its own dedicated IP address on the local subnet.
First, we SSH'd into the NAS and created the macvlan network:
docker network create -d macvlan \
  --subnet=192.168.1.0/24 \
  --gateway=192.168.1.1 \
  --ip-range=192.168.1.240/28 \
  -o parent=eth0 \
  teddycloud_net
The --ip-range parameter is crucial — it must be outside your router's DHCP range
to avoid IP conflicts. We reserved a small /28 block at the top of our subnet for Docker macvlan
containers.
Then we created the project via Container Manager using a docker-compose.yml:
version: '3'
services:
  teddycloud:
    image: ghcr.io/toniebox-reverse-engineering/teddycloud:latest
    container_name: teddycloud
    hostname: teddycloud
    networks:
      teddycloud_net:
        ipv4_address: 192.168.1.241
    volumes:
      - /volume1/docker/teddycloud/certs:/teddycloud/certs
      - /volume1/docker/teddycloud/config:/teddycloud/config
      - /volume1/docker/teddycloud/content:/teddycloud/data/content
      - /volume1/docker/teddycloud/library:/teddycloud/data/library
      - /volume1/docker/teddycloud/firmware:/teddycloud/data/firmware
      - /volume1/docker/teddycloud/cache:/teddycloud/data/cache
    restart: unless-stopped

networks:
  teddycloud_net:
    external: true
After deploying the stack, Teddycloud's web interface was accessible at
https://192.168.1.241. We uploaded the extracted certificates
through the UI and the server was ready to accept connections from our Toniebox.
DNS Redirect
The final piece of the puzzle: making the Toniebox talk to our local Teddycloud instead of the
official Boxine servers. The Toniebox resolves several hostnames to reach its cloud —
most importantly prod.de.tbs.toys and rtnl.bxcl.de.
Conveniently, we already run AdGuard Home as another Docker container on the same Synology NAS. Adding custom DNS rewrites in AdGuard's UI was all it took:
192.168.1.241  prod.de.tbs.toys
192.168.1.241  rtnl.bxcl.de
After rebooting the Toniebox, it connected to our local Teddycloud instance instead of the official cloud. The Teddycloud web interface immediately showed the box as online — connection established.
The Result
With Teddycloud running on our Synology, we now have full control over the Toniebox. Custom audio content is stored on the NAS, figurines can be assigned to any audio file via the web interface, and everything stays on the local network. No cloud dependency, no subscriptions, no data leaving the house.
The entire setup — from opening the box to having a working local cloud — took us about two hours, most of which was spent on the macvlan networking on Synology. The actual certificate extraction and Teddycloud configuration was surprisingly smooth thanks to the excellent work of the toniebox-reverse-engineering community.
If you own a Synology NAS and a Toniebox, this is a weekend project well worth your time. Your toddler won't notice the difference — but your wallet will.